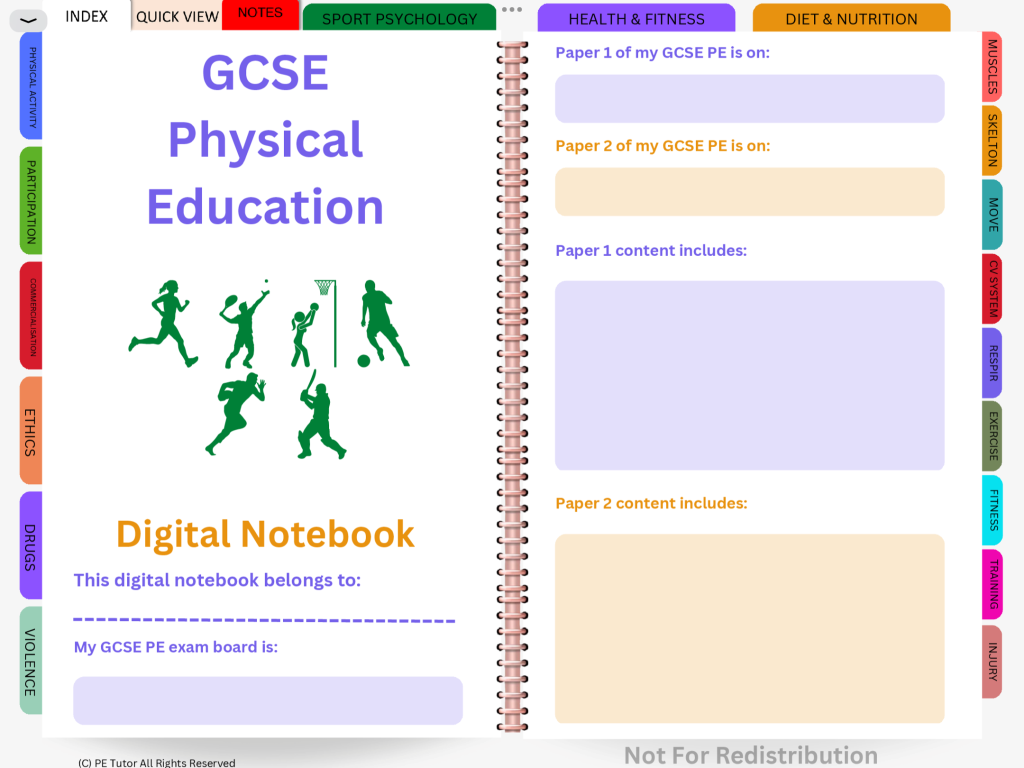
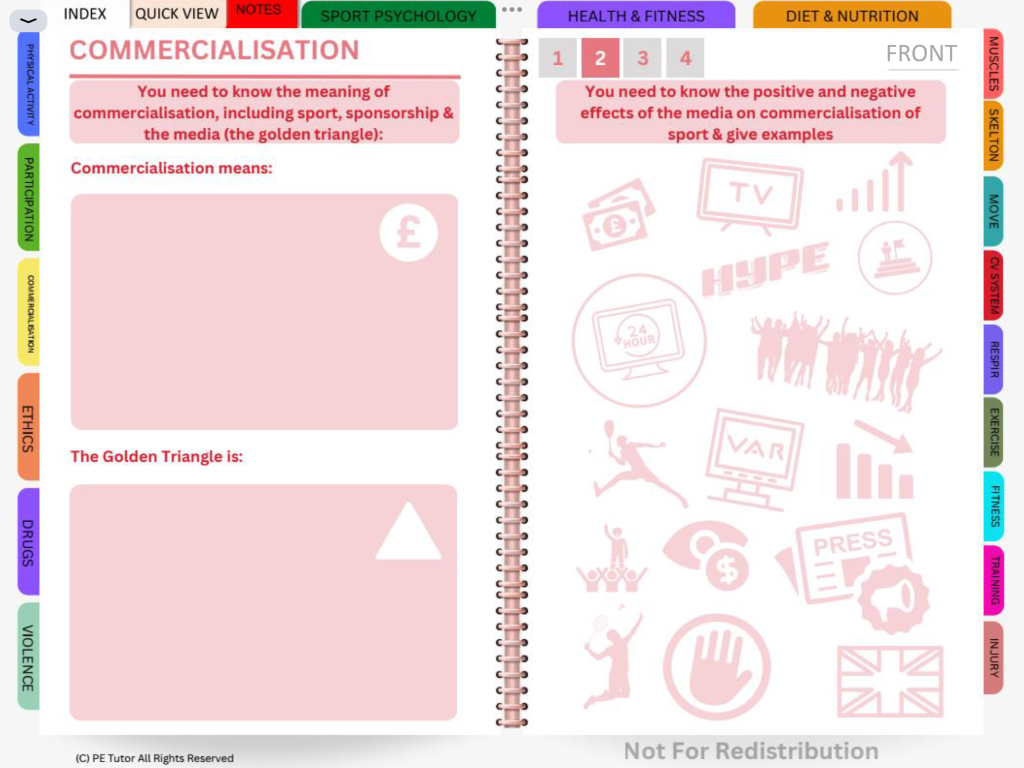
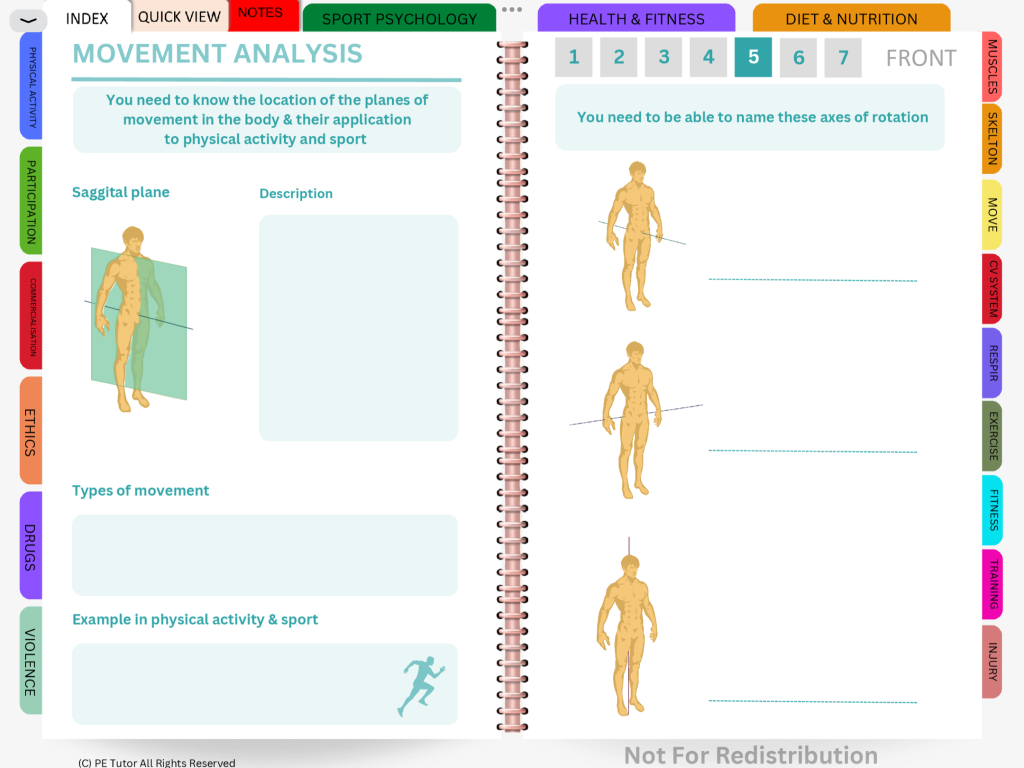
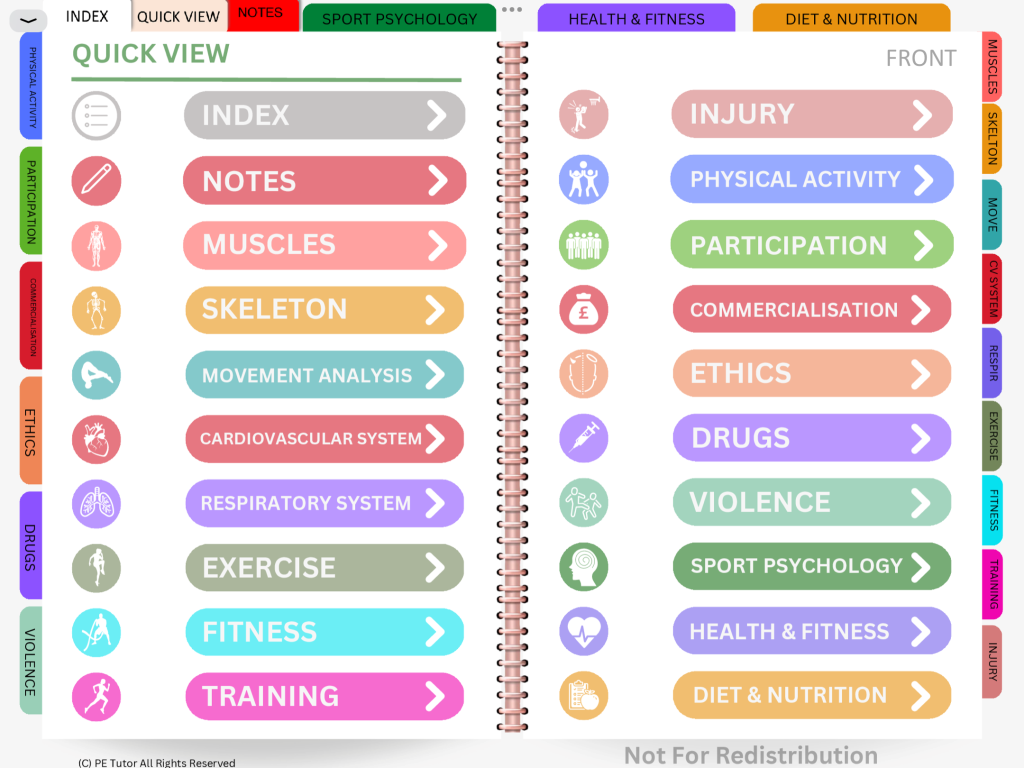
Revolutionising PE Revision: The Interactive Digital Revision Notebook

As a PE teacher, naturally you want your GCSE students to succeed in their exams and perform to the very best of their ability. But with so many topics to cover, students can often feel overwhelmed and unsure of what to revise and how to organise their notes. This can lead to confusion and frustration, not only for the students but for teachers as well.

But what if I told you that there’s a solution that could help alleviate these pain points and revolutionise PE revision for both teachers and students alike?

Introducing the Interactive Digital Revision Notebook – a revolutionary tool designed to make PE revision easier, more organised and more effective. 

This cutting-edge revision tool offers a range of features that help students stay on top of their revision and to perform at their best in their PE exam.

Benefits for PE Teachers:

  • Save time and money by providing students with a pre-populated exam specific digital revision resource
  • Be 100% confident that your students are revising the correct content
  • Easy for you to use and integrate into your existing lesson plans and teaching

Benefits for PE Students:

  • Your students can stay organised and on top of their revision with easy-to-use note-taking features
  • They can prepare for their exams with confidence, knowing they have all the easily accessible information they need at their fingertips

The Interactive Digital Revision Notebook is the perfect solution for PE teachers who want to help their students succeed in their exams and perform to the best of their ability.

With its innovative features and intuitive design, it’s never been easier for students to stay on top of their revision and perform at their best.

Don’t wait any longer, revolutionise your PE revision today and give your students the tools they need to succeed in time for this summer’s exams.

To register your interest in buying the Interactive Digital Revision Notebook at an introductory price, (50% discount) contact me via email at petutor.thinkific@gmail.com.

Five Ways To Develop Teachers’ Digital Competencies

My role of Director of Educational Technology at a large independent school in the south west of England is varied, incredibly busy and hugely fulfilling. Supporting the ongoing learning and development of over 150 colleagues in their use of educational technology and fostering the effective use of digital skills by the 1300 plus students at the school is not without its challenges, but it is also immensely rewarding. 

My recent completion of the CIPD (Chartered Institute of Personnel & Development) Level 5 Diploma in Learning and Development has assisted me enormously in recognising, pre-empting and overcoming some of those challenges and helped with the provision of professional learning opportunities for my colleagues. 

Here are five ways in which I support my colleagues in developing their digital competencies for teaching and learning.

  1. One To One Training

I make myself available to all colleagues for one-to-one training sessions either in their classrooms or in my dedicated training office (equipped with a large screen to demonstrate the use of software and apps on the PC and / or on the iPad). Often these sessions are one time occurrences in which teachers benefit from confirmation or reassurance about how to use software in a particular way for teaching and learning. I have found that these sessions are often about overcoming one particular barrier which then enables colleagues to make maximum benefit of the particular software that they are using.

The other type of one-to-one contact involves sessions over a period of time in which I adopt a coaching role and support colleagues by asking them questions to assist them in finding solutions to problems themselves and innovative ways of using applications. This is very effective as it encourages teacher autonomy and builds confidence.

In both of these one-to-one scenarios I have progressed to being present with the teacher in their classroom during their lessons. By doing so I have been able to oversee the smooth implementation of the technology in the lesson while the teacher can continue focusing on teaching and learning. Recently I was present in a drama lesson in which the teacher made excellent use of Flipgrid. I was there in a supporting role to ensure that anything on the technical side could be overcome without interrupting the flow of the lesson and learning. 

Similarly, following one-to-one training with a teacher of Spanish I was present in the classroom with him when he introduced Flipgrid. I was able to support students on a one-to-one basis with setting up the app and showing them how to operate it successfully. This led to the smooth running of the lesson and some excellent digital content creation by the students. 

  1. One To Some Training

In one-to-some training scenarios I work with small groups of colleagues in workshops where I encourage collaborative learning so that teachers can learn and find out together, and support one another with the development of their digital competencies. Recently I have worked with teachers new to the school, ECTs and PGCE students who had not worked with Apple Classroom or the Microsoft suite of apps before. 

  1. One To Many Training

One-to-many training refers to offering training and support to a large number of people in a group, for example a whole subject department or faculty. In these situations I am able to tailor the training to the specific needs of the department. This is a two-way process which involves communication and liaison with the head of department initially in which conversations will establish what the needs of the department are and with colleagues within the department to recognise and understand their individual and group needs. From that needs analysis, I create bespoke training specifically for each department. Recently this has included working with the history department to create quizzes using Microsoft Forms for retrieval practice and the Music department creating quizzes whilst listening to pieces of music using Microsoft Forms and Edpuzzle, working with the English department looking at how to make effective use of OneNote and the Physical Education department and how best to utilise the affordances of Flipgrid in student coursework activities. 

CPD Sessions

Educational technology and digital learning falls in the teaching and learning category of our whole school CPD offering. In these sessions I offer training to colleagues across departments who are particularly interested in developing their competencies in using software and how it can be successfully integrated into their pedagogy to support effective teaching and learning. 

The key to success in this area is to offer teachers a choice of different digital learning options so that the focus of the sessions offered are not ‘top down’ (i.e. we are only doing a CPD session on something that I have decided to do, or worse still because I want to!) but are sessions which have been chosen by the teachers from a range of different options. This serves to improve motivation and attendance, as adults are more likely to attend if they want to be there and have an interest in the topic.

Furthermore, successful professional learning and the development of teachers’ digital competencies lies in providing a sustainable programme overtime which enables teachers to learn about the software initially in a safe and non-judgmental environment, (that’s the training session with me and fellow colleagues) and then to be able to gradually implement the use of the software in their teaching and learning context. They should then be given the opportunity to meet with colleagues at a later date (perhaps four or five weeks later) to discuss and reflect on the use of the software (from both a teacher’s and students’ perspective) and share the successes and failures that they have encountered. It is so important to go beyond just a one-hour CPD session and assume that teachers will be fully equipped with the wherewithal to successfully run with new software in their teaching.

  1. On Demand Learning

The pandemic obviously had an enormous influence on the way in which teachers use digital technology for teaching and learning and one of the offshoots of the pandemic was the way in which I provided on demand learning to colleagues. At the onset of the pandemic I created a number of video tutorials on how to use Microsoft Teams and OneNote which were extremely well received and which served to support colleagues at the start of and during the pandemic. Now that we are back ‘in-situ’ the development of on-demand learning content has continued with the creation of an increasing number of video tutorials about a variety of different applications that could be used for teaching and learning. 

As teachers have become more aware of the videos and have turned to them frequently, the idea of ‘just-in-time learning’ and ‘learning at the point of need’ has become more prevalent, leading to teachers being more confident and secure in their use of educational technology. 

I created a page in SharePoint called the EdTech Learning Hub which houses several pages about using Microsoft applications, such as Teams, OneNote, Forms, Flipgrid and PowerPoint. In addition to this, I create a short video most Fridays which is published in our staff bulletin. These Edtech Friday tips provide quick snippets of information and updates of developments in digital learning which teachers are able to quickly and easily implement into their practice. 

Beyond that, also housed in the Edtech Learning Hub is a podcast which is called Teachers’ Stories and which involves colleagues discussing the way in which they have successfully used applications in their teaching and learning. This empowers teachers as it provides a platform for them to both share and learn. Topics have included how OneNote can be used to provide oral feedback to students, the use of quizzing apps such as Socrative and Quizlet for retrieval practice and spaced learning and how Forms has been employed to foster flipped learning.

  1. Social & Collaborative Learning

It is also important to provide a forum for colleagues to exchange experiences and to support one another in their use of educational technology. With this in mind we set up a specific Team in Microsoft Teams called Edtech Mutual Support in which colleagues could post anything that they wanted to with regards to educational technology and digital learning. This included articles or points of interest they had become aware of and questions which other colleagues were able to answer. Thus a whole staff peer support mechanism was in place. This has proved to be enormously successful and popular and it has helped to develop a culture of peer learning. Although I and colleagues in our IT Services department do receive specific questions via the chat or post channels, I did not see myself as the guru who has all the answers but simply another contributor who is able to learn with and from other colleagues in this context. 

How To Develop a Feedback Cycle with Forms and OneNote

Have you felt frustrated when your students don’t take the time to read and respond to your feedback? Yep, me too!

In this quick post, with an accompanying video, I explain how you can develop a feedback cycle using both MS Forms and OneNote to overcome this problem.

As much of my teaching and assessment is now digital I make use of OneNote all the time. In fact, apart from Yr 11 mock exams, I think I marked one piece of work on paper last term and that was a formal assessment!

“To ease the marking load further I frequently use MS Forms for quizzes, low stakes assessments and for retrieval practice. “

Everything else is marked digitally, with my students either handwriting their work on paper and then taking an image of it and inserting it into OneNote, writing directly on to their iPads or tablets with the amazing digital inking features in OneNote, or by typing their responses. An increasing number of my students also use the dictation function as well.

To ease the marking load further I frequently use MS Forms for quizzes, low stakes assessments and for retrieval practice.

However, one of the things I found irritating was that after students had taken their quiz in MS Forms and I had marked it, they rarely returned to the original quiz to view my feedback and to act upon it.

Whilst there is a way to see their feedback by returning to the quiz via clicking on the link students were originally given, I found that this is not something that students did of their own volition, or even know about. Therefore I had to find a way in which I could ensure that the time that I had taken to give feedback to my students was not wasted and equally that learning opportunities for the students were not lost. Enter OneNote!

How to return a marked quiz to students in OneNote?

Having finished marking and providing feedback for your students in a quiz you then print the quiz to OneNote on the desktop app. You select the appropriate section and student’s name in the relevant Class Notebook and print the quiz to this location. (See the video below to learn exactly how to do this).

My classes have a section called Retrieval Practice in their Class Notebook which is where I print their quizzes. After they have taken a quiz, they know to access this section, to read my feedback and then respond to it, either by typing, writing (digital inking) or by inserting a voice note. I can then easily access their responses, either during the lesson or at a time which is convenient to me, to see or listen to how they have responded to my feedback.

With this method, you are able to identify whole class and individual misconceptions and gaps in knowledge and reteach these points, if necessary. You can then build those topics into future retrieval practice quizzes in MS Forms. In this way, you develop a feedback cycle which assists students on their learning journey.

If you’d like to find out more about how to use MS Forms for teaching, learning and assessment you might find this useful.

As always, I’be be grateful for your comments and thoughts about this article. Thanks.

OneNote ClassNotebook ‘How To’ Guide

Featured

Very happy to share this guide on using OneNote ClassNotebook which I created for colleagues. Please feel free to download and use in your setting.

How To Add a Section

Select the section in which you want the new section to appear. For example, if you want to add a new section to the Content Library, make sure the Content Library is selected. Click the purple Add Section text at the bottom of the Section pane. Name the section and click OK. The new section will appear.

How To Add A Page

Select the section you want the new page to appear in. In the Page pane, click Add Page at the bottom of the pane. The new, untitled page will appear.

How To Name a Page

Type in the name of your page at the top of the main canvas. The name of the page will appear in the pages pane.

How To Add Text to a Page

Click anywhere under the title to start typing on the page. Type away and edit as you would normally using the MS ribbon and tool bar. To reposition the text, hover your cursor over the top of the text box, using the crosshair icon drag the text box to your desired position.

How To Add an Image

Click on the page. Click the INSERT tab. Click PICTURE. Choose where you want to get your image from. Follow the onscreen instructions to get your image. Click INSERT. You can resize and reposition your picture on the page. Resize the picture by clicking on it. Drag handles will appear, use these to resize your image. You can move your image by hovering the mouse on the top of the image. The cursor will change to cross hairs, use these to drag the image to the desired position.

How To Add a Video from (YouTube, Flipgrid, Vimeo)

Find the video (on YouTube, Flipgrid) you want to put on the page. On YouTube, click the SHARE button. Copy the video URL address. Go back to OneNote, click the page and paste in the address. Press the RETURN key on your keyboard. Your video is right there in OneNote, ready to play! You can reposition it by following the steps above. (See Add an image).

How To Add Audio (using a PC – mic needed or laptop)

If you are using a PC, click on the Class Notebook page. CLICK the INSERT tab. Click the Audio icon. If you have a microphone connected to your PC you can start speaking straight away to add your audio / spoken feedback or instructions. Click the STOP icon when you have finished speaking.

How To Add Audio (using the iPad)

On the iPad, tap the INSERT tab and then tap the page to activate the icons. Tap the audio icon and start speaking straight to record your spoken feedback / instructions. Tap STOP RECORDING when you have finished speaking.

How To Add an Attachment

Click on the page. Click INSERT. Click FILE. Click INSERT AS ATTACHMENT. Follow the onscreen instructions to get your file. Click INSERT. Your file will appear as an icon (e.g., a Word icon) on the page. N.B. When a student clicks on the icon, the document will open in a new window.

How To Add a Printout

Click on the page. Click INSERT. Click FILE. Click INSERT FILE PRINTOUT. Follow the onscreen instructions to get your file. Click INSERT. Your document will appear in full on the page. Best practice is to save your documents as PDFs before inserting them as file printouts. Tip: This works well with PowerPoint decks, but you will lose any interactivity. They should be Set As Background so that students can annotate them. (See ‘How To Ensure Students Can Write On or Type Over Documents’ below).

How To Add a Link to a Website

Click on the page. Click INSERT. Click LINK. In the pop-up window, add the URL address of the website and give it a name in the display text box. Click INSERT. When students click on the link they will be directed to the website. N.B. The website will open a new window.

How To Add a Webpage (using Apple Pencil)

On your iPad ensure the Apple Pencil settings are set to LEFT CORNER SWIPE – SCREENSHOT – ON. Go to Settings – Apple Pencil to activate this setting. Navigate to the website you want to add to the OneNote page. Swipe your Apple Pencil from the bottom left-hand corner to the middle of the screen. Next, tap Full Page at the top of the screen. Now tap the export icon (the square with the arrow pointing out of the top). Drag the app icons across to find the OneNote icon. Tap on it and choose which Notebook and section you want to send the webpage to. Title the page and then tap send. At the desired location, touch and hold the icon and then tap Printout to see the entire webpage on the OneNote canvas.

How To Distribute Pages to Students

Make sure you are in / on the page you want to distribute to your students. Click on CLASS NOTEBOOK on the ribbon at the top of the Notebook. Click on DISTRIBUTE PAGE. To distribute a page to all your students, click on DISTRIBUTE PAGE from the drop-down menu. In the pane on the right-hand side, select the student section you want to distribute the page to. Click the purple DISTRIBUTE page. The page will then be distributed to all students and will be in the designated section in their Notebook. (NB. This may take a little while – be patient!).

To distribute a page to one student, follow the same procedure above, but select INDIVIDUAL DISTRIBUTION instead of DISTRIBUTE PAGE from the drop-down menu.

How To Create Subsections within Sections

To create a subsection in the section pane, click on Class Notebook then Distribute New Section, then click on Distribute New Section Group. Name the new section group in the box provided and then name the new section (sub section). You can add multiple new sections by clicking + Section. Then click DISTRIBUTE. The new section group and subsections are distributed to all students. N.B. The new section group is not added to the Content Library nor the Teacher Only section.

How To Change Students’ Names from Their School Code

This needs to be done in the desk top app, currently Windows 10. On your PC, type OneNote into the search bar in the bottom left-hand corner of the screen. Click on the OneNote icon to open it. Navigate to the Class Notebook you want to edit – you will see the name of the Notebook under the ribbon in the top left-hand side of the screen. Use the drop-down menu to locate the Notebook you want.

Along the top of the page, you will see tabs with your students’ school code. Hover your mouse over a tab and right click. You can now change the name of the tab to the student’s first name and last name, for example.

How To Mark Students’ Work (on the PC)

On the PC, click on Class Notebook, then click on Review Student Work. A pane will appear on the right-hand side of the screen. Select the section you want to navigate to, click Next then click the page where your students’ work is / should be. Click Next and the names of all your students will be shown. Click on the first student’s name at the top, this student’s page will automatically open and you can mark their work. When you are ready to move on to the next student’s work, just click the second student’s name on the list and their work will automatically appear.

You can insert voice /audio feedback (as above) as well as ink and highlight areas of the students’ work.

How To Mark Students’ Work (on the iPad)

On the iPad, tap on Class Notebook, then tap on the Review Student Work icon, which is the document with a blue tick in the bottom right-hand corner. Tap Review Student Work. A pane will appear on the right-hand side of the screen. Select the section you want to navigate to, click Next then click the page where your students’ work is / should be. Click Next and the names of all your students will be shown. Click on the first student’s name at the top, this student’s page will automatically open and you can mark their work. When you are ready to move on to the next student’s work, just click the second student’s name on the list and their work will automatically appear.

To mark students’ work, tap on the DRAW tab and use you Apple Pencil to digitally annotate and mark. You can add a voice note by tapping on INSERT, tapping on the page and then tapping the audio icon.

How To Change the Appearance of the Page

To change the page colour, click on View and then Page Colour. Select the desired page colour.

On the iPad, to change the paper style click View and then Paper Style. Select the desired paper style.

On the PC, to change the paper style you need to be on the desktop Windows OneNote app. Click View and then click Rule Lines. Select the desired paper style.

How To Use the Collaboration Space

The collaboration space is an area in which students can work together to complete tasks. You can use the collaboration space in a number of ways. You can set up a task which all students can access and contribute to, or you can create different tasks for groups for smaller numbers of students to access. To set up a whole class activity, simply create your task on a page in the collaboration space. There is no need to change any settings as all your students can access this page.

If you want to create different tasks for smaller groups of students, you can restrict student access to specific pages within the Collaboration space. To do this, you need to create the pages and activities in the Collaboration space first. Then, click on the Class Notebook tab, then click Manage Notebooks (a book icon). Then click the collaboration space permissions and assign your students to the specific page within Collaboration space that you want them to have access to. Only the assigned students can access the designated page.

How To Use the Content Library Section

The content library section is a place where you can put your documents which your students are able to see but they are not able to edit. This means that they are read only for the students. You can distribute pages to your students from the content library section and students can copy pages from the content library section and paste them in their own Class Notebook.

How To Use the Teacher Only Section

The Teacher Only section is a secret section that only the teacher can see, and this is where the teacher can store documents and materials which are not accessible to students. The teacher can distribute pages to students from the teacher only section when they wish to, or they can distribute them to the content library if they want to make them available to students as read only documents.

How To Ensure Students Can Write On or Type Over Documents

To ensure students can write on or type over documents that you have distributed to them the document needs to be pinned to the background. This is done on the iPad or the desktop Windows app.

On the iPad, touch and hold the document and several options will appear in a black bar at the top of the document. If it is not immediately visible, click the arrow to the right of the black bar and then tap on Set Picture As Background. This will now allow students to write on the document and to type over it.

Your students can also set picture to background on the iPads by following the same method.

In the Windows app, select the document and right click on the mouse. From the drop-down window select Set Picture As Background. If the document has more than one page or slide, you will need to repeat the process for each page or slide in the document.

BTEC Sport Unit 22 – Private Sector

Here I share my experiences of using Quizlet recently to teach the key terminology associated with the main aims and objectives of the private sector within unit 22 of the Level 3 National Diploma in Sport. A simple lesson plan, if you like.

First, I created a set of flashcards (11 in total) of the key terminology my students need know. The key terms were taken from the specification and textbook and I used the helpful suggestion feature in Quizlet to help me tailor the descriptions of each piece of terminology so that it was accessible to my learners.

Next, I printed three sets of large flashcards and cut them up so that the key terms and descriptions were separated.

I divided my BTEC class into three groups and distributed the three flashcard sets to each group. Their first task, in their groups, was to match the key term with the correct corresponding description.

Once they had successfully completed that task and having checked for understanding as a whole class, we developed the challenge and played the ‘memory game’ (also known as pelmanism).

In this activity all the flashcards were placed face down and students played the game in teams of two, whereby they turn one card over to reveal a key term (for example) and they then have to find the corresponding description. A matching pair is kept by the team. If the two cards do not correspond, both cards are turned face down again and returned to their original position. The other team then has a go at matching two correct cards. This is a useful exercise because it involves a lot of repetition and revisiting key terms and descriptions.

When the groups had finished playing the memory game, they logged onto Quizlet on their iPads or laptops and spent time working independently studying the same set of digital flashcards. In particular, I encouraged them to use the ‘Learn’, ‘Flashcards’ and ‘Match’ features on Quizlet.

To learn more about these features, click here.

After a period of time, all of the students were instructed to navigate to the ‘Test’ feature, where they had to complete a Quizlet test using the multiple choice, true / false and matching options. I circulated and noted individual student scores and provided feedback where necessary.

Following this, I set up a Quizlet Live session. This is a fun way for students to see the extent of their learning.

Finally, with all devices out of sight, having used the print function in Quizlet, I gave my students a hand out of a glossary of the key terms and I asked my students to complete the following task:

Using the key terms you have studied, explain the main aims and objectives of the private sector. Develop your points and provide examples from businesses in the SAL industry.

If you’d like to learn more about how to use Quizlet effectively for teaching and learning, why not enrol in my free online course here?